 Lynden Siding
 Windows Built for the Abbotsford, BC Climate
Homes around Abbotsford, BC sit in a stretch of the Pacific Northwest where the weather doesn't do anything in half measures. Damp air moves in off the water and sits for days. Driving rain comes in sideways during winter storms, testing every seam around a window frame. And because things rarely dry out fast here, moss and algae get a long season to work on anything with a north-facing exposure or a shaded wall. Windows in this environment aren't just a comfort item — they're one of the main things standing between a house and slow, ongoing moisture damage.
When we talk about "energy-efficient windows" for a home in this area, we mean something more specific than a sticker on the glass. It means a window and an installation that together handle three jobs at once: keep conditioned air inside, keep wind-driven rain and humidity outside, and do both without trapping moisture in the wall assembly where nobody can see it happening.
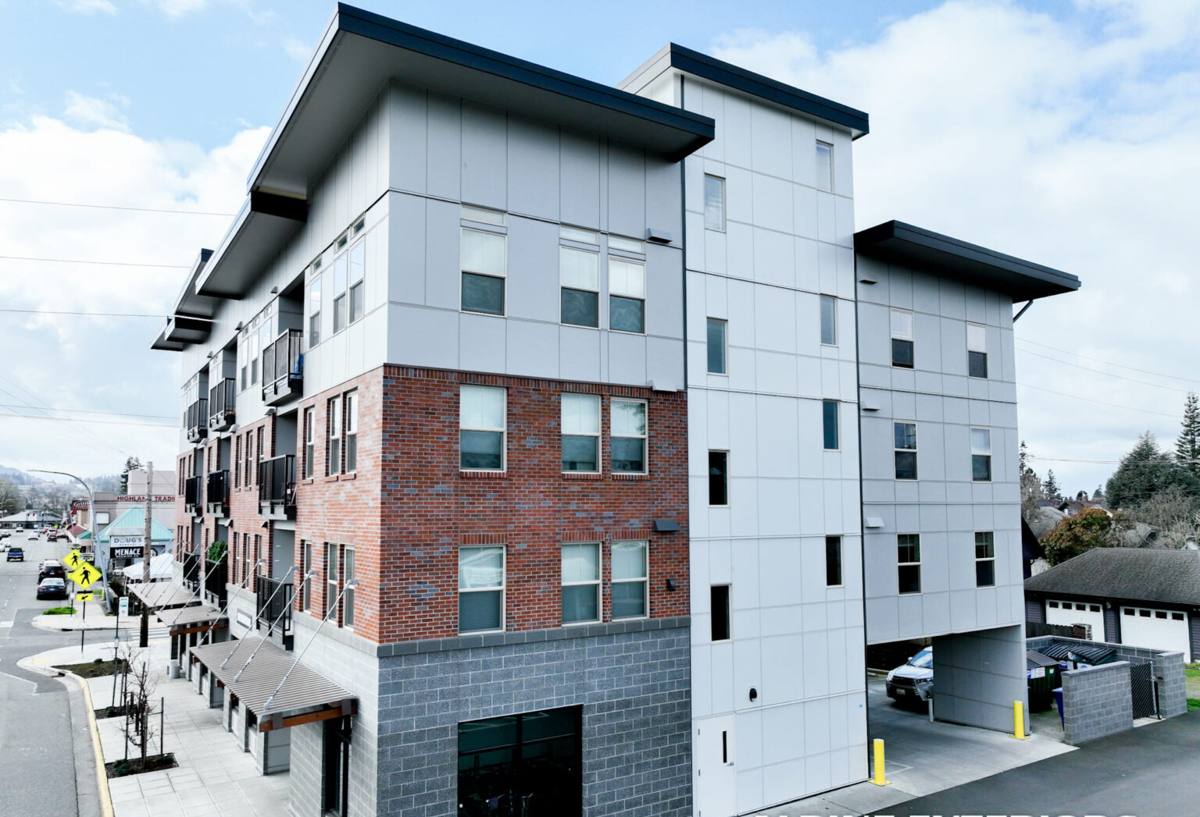
What Energy-Efficient Actually Means
"Energy-efficient" gets used loosely in this trade, so it's worth breaking down into the numbers that actually matter and what they mean for a house dealing with a wet, mild-but-drafty climate rather than deep cold.
The Ratings That Matter Here
- U-factor — measures how well the window resists heat loss. Lower is better. This is the number most tied to winter heating bills in our climate.
- SHGC (Solar Heat Gain Coefficient) — how much solar heat passes through the glass. Matters less here than in sunnier climates, but still affects west- and south-facing rooms.
- Air infiltration rate — how much air leaks through the assembly itself, separate from the seal around the frame. A window can have a great U-factor and still leak air if this number is high.
- Condensation resistance — how well the glass and frame resist fogging and sweating on cold, humid days, which is a bigger issue here than in drier regions.
Glazing and Fill
Double-pane with a low-E coating and argon gas fill is the practical baseline for this area. Triple-pane adds real value on north-facing walls or rooms that stay cold, but it also adds weight, cost, and in some cases isn't necessary to hit a good comfort level once air sealing and the low-E coating are handled correctly. We size the glazing package to the wall it's going in, not a blanket spec for the whole house.
Signs Your Current Windows Are Costing You Money
Most homeowners don't replace windows because they woke up thinking about U-factors — they replace them because something is visibly or physically wrong. Here's what we're usually looking at when we get a call:
- Cold drafts you can feel standing near the window, even with it fully closed and locked
- Condensation or fog trapped between the panes — a sign the seal has failed and the gas fill is gone
- Glass that feels cold to the touch even when the room is warm
- Soft or discolored wood on the sill or frame, especially on walls that catch prevailing rain
- Windows that are hard to open, close, or lock — frames can warp slightly as they take on moisture
- A noticeable jump in heating costs without any other explanation
Any one of these on its own might just mean a single window needs attention. Several of them together, especially concentrated on one side of the house, usually points to a broader problem with how the whole opening was flashed and sealed originally.
What a Correct Installation Actually Involves
The window unit itself gets most of the attention, but in a climate with this much driving rain, the installation detailing around the window is just as important as the product. A great window installed poorly will leak. A mid-grade window installed correctly will outperform it.
The Parts That Don't Show
- Sill pan flashing — creates a sloped, waterproof pan under the window so any water that gets past the frame drains back outside instead of into the wall.
- Weather-resistive barrier integration — the house wrap or building paper has to lap correctly over the flashing, shingle-style, so water is always directed downward and outward.
- Proper shimming and squaring — a window that's out of square stresses the seals and hardware over time, even if it looks fine on install day.
- Low-expansion foam or backer rod — seals the gap between the frame and rough opening without bowing the frame inward, which can happen with the wrong foam.
- Exterior trim and caulking — the visible finish work, but it only works as a system with everything underneath it done right.
This is also where moss and algae come into play. A window with poor drainage detailing holds moisture longer at the sill and trim, which gives moss and mildew a head start — especially on shaded or north-facing walls that don't get much sun to dry them out.
Our Process
1. On-Site Assessment
We look at each opening individually — sun exposure, wind exposure, current condition of the trim and sheathing, and whether there's any sign of past water intrusion. Not every window on a house needs the same glazing package or even the same frame material.
2. Product Selection
We walk through frame material, glazing, and hardware options based on that assessment and your budget, without pushing a single "house brand" for every job. The right window for a sheltered back bedroom isn't necessarily the right window for an exposed west-facing living room.
3. Removal and Prep
Old windows come out carefully so we can inspect the rough opening, sill, and surrounding framing for hidden rot or past water damage before anything new goes in. Any damaged wood gets repaired or replaced at this stage — covering it up with a new window doesn't fix it.
4. Installation
Sill pan flashing, correct barrier lapping, squaring, low-expansion sealing, and finish trim — done in that order, every time. This is the step that determines whether the window performs for twenty years or starts leaking in three.
5. Walkthrough and Cleanup
We check operation on every window, clean up the work area, and walk the job with you before we call it done.
Frame Material Comparison
There's no single "best" frame material — each one trades off differently on cost, maintenance, and how it holds up to sustained damp weather.
| Frame Material | Moisture Handling | Maintenance | Typical Cost |
|---|---|---|---|
| Vinyl | Good — won't rot, but seals and corners are the weak point over time | Low | Lower |
| Fiberglass | Very good — dimensionally stable, resists warping in wet-dry cycles | Low | Higher |
| Wood-clad | Good exterior protection, but any breach in the cladding exposes wood underneath | Moderate to high | Higher |
| Aluminum | Durable but conducts cold, prone to condensation without a thermal break | Low | Moderate |
For a lot of homes in this area, we lean toward vinyl or fiberglass for the balance of moisture performance and low upkeep. Wood-clad still has a place where the look matters and the owner is comfortable with the extra maintenance, but we're honest about that trade-off up front rather than after the sale.
What Actually Drives Cost
| Factor | Why It Matters |
|---|---|
| Window size and quantity | Larger openings and more windows scale cost directly, but bulk installs often reduce per-window labor cost |
| Frame material | Vinyl to fiberglass to wood-clad is roughly low to high on both material and labor |
| Glazing package | Double vs. triple pane, low-E coatings, and gas fill all add incremental cost for incremental performance |
| Condition of the rough opening | Hidden rot or old flashing failures add repair time that isn't visible until removal |
| Access and site conditions | Second-story or hard-to-reach openings take longer and may need extra equipment |
We give a firm, itemized number after the on-site assessment — not a phone estimate — because the rough opening condition genuinely changes the scope on older homes more often than people expect.
Why a Local Crew Matters for This Area
A crew that's already worked windows in and around Abbotsford, BC and the Lynden area has seen how the local weather actually behaves against a house — which walls take the worst of the driving rain, how long moss holds moisture on shaded trim, and which older flashing details tend to fail first. That's not something you get from a general install checklist; it comes from doing the work in this specific climate, on this specific building stock, repeatedly.
There's also a practical side to it. A local crew is easy to reach if a question comes up after the install, understands regional permitting where it applies, and has a reputation in the community that's tied to the work actually holding up through a few wet winters — not just how it looks on install day.
Caring for Your Windows After Install
New windows still need some basic attention to get their full lifespan in a climate this wet. None of it is difficult, but skipping it lets moisture problems creep back in over time.
- Rinse pollen, salt residue, and grime off the glass and frames a couple of times a year
- Check exterior caulking annually for cracking or gaps, especially after a hard winter
- Keep gutters and downspouts clear so water isn't sheeting down over window heads
- Watch for moss or algae starting on sills or trim and clean it off early rather than letting it establish
- Test locks and operation each season — hardware that's sticking can be an early sign of frame movement
- Vacuum weep holes at the bottom of the frame if debris builds up, so drainage isn't blocked
Getting an Honest Estimate
If your windows are drafty, fogging between the panes, or just past their useful life, we're happy to come take a look and give you a straight assessment of what's actually going on — no pressure, no inflated urgency. Reach out for a free estimate and we'll walk your home's windows with you, opening by opening.