 Lynden Siding
 New-Construction Windows Are a Different Job Than Replacement Windows
"New-construction window" is a specific term in our trade, and it matters more than most homeowners realize. These are windows with a nailing fin (sometimes called a nail flange) built into the frame, meant to be installed into a framed rough opening before the siding goes on — during a new build, an addition, or a full wall reconstruction. That's different from a replacement or "insert" window, which gets fitted into an existing frame without disturbing the surrounding wall.
The distinction matters because a new-construction window is installed as part of the building envelope itself. The window, the weather-resistive barrier (WRB, often called house wrap), the flashing, and eventually the siding all have to work together as one continuous water-management system. Get the sequencing wrong at this stage and you're not looking at a leaky window — you're looking at water intrusion behind the siding that can go undetected for years.
Why Bellingham's Climate Raises the Stakes
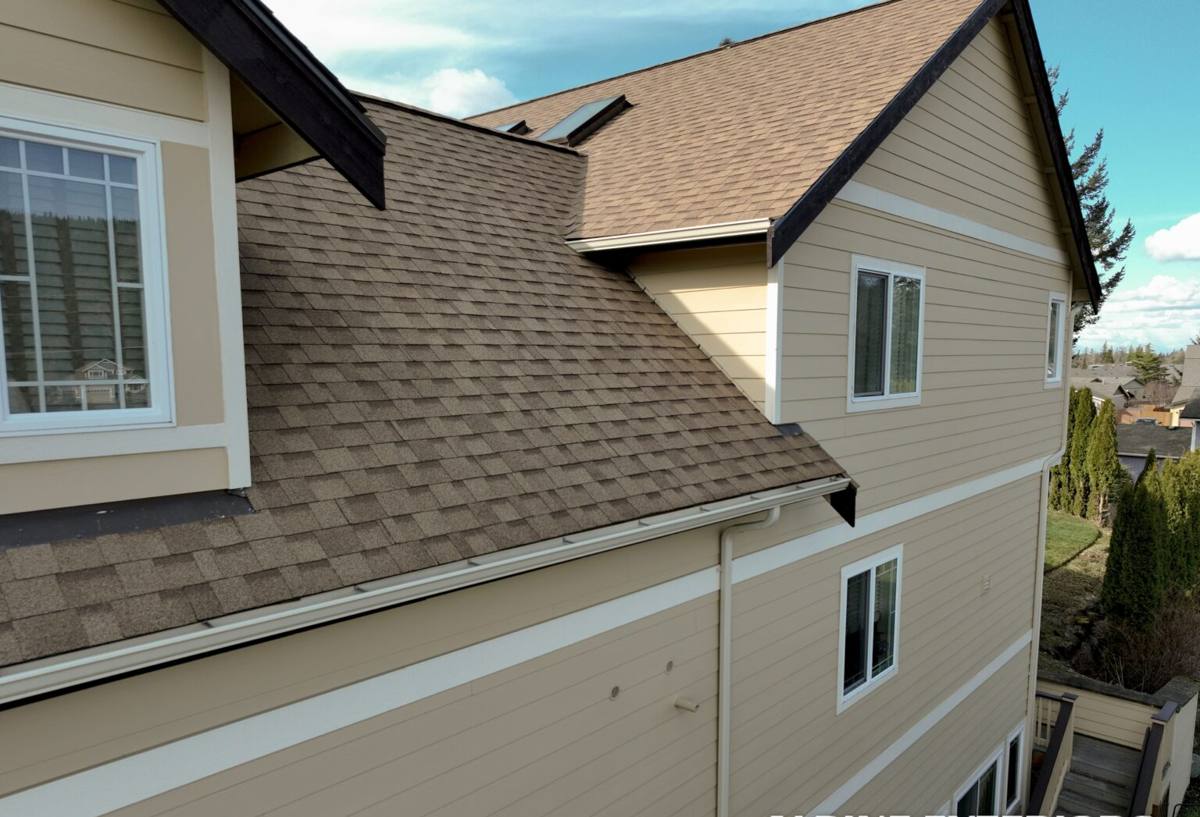
Bellingham sits right on the water, and that proximity to Bellingham Bay brings driving rain on wind-driven storms, salt-laden air, and long stretches of damp, low-light conditions that keep north- and shade-facing walls wet for days at a time. Add in the moss and algae season that runs long here compared to drier parts of Washington, and you've got a climate that punishes any shortcuts in the window-to-wall connection.
Three things specific to this area drive how we approach a new-construction window install in Bellingham and the surrounding Whatcom County towns like Lynden:
- Driving rain: Wind off the bay pushes rain sideways into wall assemblies, so flashing has to shed water outward and downward, not just cover the opening.
- Salt air: Airborne salt accelerates corrosion on exposed fasteners, hinges, and cheaper hardware — a real factor when choosing window materials for west- and water-facing exposures.
- Moss and prolonged moisture: Shaded, north-facing walls under tree cover stay damp longer, which means any gap in the WRB or flashing has more time to do damage before it dries out.
What a Correct New-Construction Window Install Actually Involves
There's a specific order of operations that keeps water moving out of a wall assembly instead of into it. Skipping steps or doing them out of sequence is the single biggest cause of window-related water damage we get called out to diagnose in older Whatcom County homes.
The sequence we follow
- Rough opening check: Confirm the opening is square, plumb, and sized correctly before the window ever shows up on site.
- Sill pan flashing: A sloped, water-tight pan at the bottom of the opening, with a back dam, so any water that gets past the window drains outward instead of pooling on the sill and finding its way into the framing.
- Jamb and head flashing tape: Self-adhered flashing applied in a shingle-lap order — sill, then jambs, then head — so every layer overlaps the one below it, the same way roof shingles work.
- Window installation: Set, shimmed level and plumb, and fastened per the manufacturer's instructions — not just "however it fits."
- WRB integration: The house wrap gets lapped over the flashing at the top and sides so water draining down the wall never meets a seam that points inward.
- Backer rod and sealant, plus a drip cap: Sealant alone is not flashing — it's a secondary seal, and it needs a drip cap or head flashing above it to do its job long-term.
Every one of those steps has to happen before siding goes on, because once the wall is closed up, correcting a bad flashing job means tearing siding back off.
Choosing Window Materials for a Water-Facing Climate
Frame material matters more here than it does inland. Salt air and constant moisture cycling put more stress on hardware, seals, and finishes than a dry-climate build ever sees. There's no single "right" answer for every project — it depends on budget, exposure, and how the window will be used — but here's how the common options stack up for a Bellingham-area build.
| Frame Material | Salt Air / Moisture Behavior | Maintenance | Typical Trade-Off |
|---|---|---|---|
| Vinyl | Resists corrosion well; no metal hardware exposed on the frame face | Low — occasional cleaning | Least expensive; frame can flex on very large openings |
| Fiberglass | Very stable dimensionally; handles wet/dry cycling with minimal expansion | Low | Higher upfront cost than vinyl |
| Wood-clad | Good if cladding and flashing detail are done correctly; failure point is usually a breach in the cladding, not the wood itself | Higher — finish and seals need periodic attention | Best interior appearance; needs a contractor who details the exterior cladding carefully |
| Aluminum | Prone to corrosion in salt air unless properly finished/anodized | Moderate | Strong for large commercial-style openings; less common on residential coastal builds for this reason |
For glass, we generally recommend a Low-E coating with an argon or krypton gas fill for this climate — it cuts down on the glare off the water on clear days and helps with the temperature swings between damp mornings and sunnier afternoons. It's not about chasing the fanciest glass package; it's about matching the coating to how much direct exposure a given elevation actually gets.
How We Work With Builders and Homeowners on New Construction
Most new-construction window work happens on a schedule set by the general contractor, not by us in isolation. Our job is to slot in cleanly at the right point in the framing sequence — after the WRB is up, before siding starts — and to communicate early if we see anything in the rough opening or wrap detail that needs correcting before we install.
On a typical Bellingham or Lynden-area project, that means:
- Reviewing the window schedule and rough opening sizes against the actual units ordered, before install day
- Coordinating with the GC or homeowner on timing so windows go in during a dry-in window, not mid-storm
- Flagging any WRB or sheathing issues we spot before we flash over them
- Documenting the flashing sequence at each opening so there's a clear record if questions come up later
We treat every opening the same way whether it's a spec home, a custom build, or a room addition — the water doesn't know the difference, and neither should the installation standard.
Mistakes We See When This Isn't Done Right
Most window-related water problems we get called to look at in existing Whatcom County homes trace back to a handful of shortcuts taken during the original new-construction install:
- No sill pan, or a flat sill pan with no back dam — water sits against the frame instead of draining out
- Flashing tape applied out of shingle-lap order — creates a seam that funnels water inward instead of down and out
- Nailing fin stapled instead of properly fastened and taped — leaves gaps that widen as the building settles
- Sealant used as the only line of defense — sealant degrades with UV and weather cycling; it's a backup, not the primary flashing
- No drip cap or head flashing above the window — leaves the top edge exposed to direct driving rain
None of these show up as problems on day one. They show up two, five, or ten years later as stained sheathing, soft trim, or moss and mildew creeping around a window opening on a shaded wall.
Pre-Installation Checklist for New-Construction Windows
Before we set a single window, we run through the same checklist on every opening. It's worth knowing what's on it, whether we're doing your install or you're vetting another crew:
- Rough opening is square, plumb, and matches the ordered window's dimensions
- WRB is installed and lapped correctly above the opening before flashing begins
- Sill pan flashing is in place with a back dam and outward slope
- Flashing tape sequence follows sill → jambs → head, shingle-lap style
- Window is shimmed level, plumb, and square — not just "close enough"
- Fastening follows the manufacturer's schedule for spacing and fastener type
- Backer rod and sealant are installed at the interior and exterior seams
- Drip cap or head flashing is in place above the unit
- WRB is lapped back over the top flashing to complete the drainage plane
Why a Crew That Already Works Bellingham Makes a Difference
A lot of window flashing details are the same wherever you build. What changes here is judgment about exposure — which elevations catch the worst of the driving rain off the bay, which walls stay shaded and damp long enough to grow moss, and where salt air justifies spending more on frame material or hardware. That judgment comes from having done this repeatedly around Bellingham, Lynden, and the rest of Whatcom County, not from a generic installation manual.
It also helps to work with a crew that's used to coordinating with local builders and understands the inspection expectations in this area, so the flashing and WRB work gets documented and signed off before siding closes it all in. That's the difference between a window that performs for decades in this climate and one that starts causing problems the first hard winter storm.
If you're planning a new build, addition, or major renovation in the Bellingham or Lynden area and want the window openings done right the first time, we're happy to walk the plans or the framed openings with you and give you a straightforward, no-pressure estimate. Use the form below to get started.