 Lynden Siding
 Why Birch Bay's Climate Is Tough on Exterior Siding
Birch Bay sits right up against the water, and that changes what a house needs from its siding compared to homes a few miles inland in Lynden or elsewhere in Whatcom County. Salt-laden air corrodes fasteners and trim hardware faster than it does further from the shoreline. Wind off the water drives rain sideways into wall assemblies during winter storms, testing every seam and joint. And the region's long, damp moss season — stretching from fall through spring — keeps north-facing and shaded walls wet for weeks at a time, which is exactly the environment moss, algae, and mildew need to take hold.
None of that is unusual for a Pacific Northwest coastal community, but it does mean that siding decisions homeowners make elsewhere in the country don't always hold up the same way in Birch Bay. The siding profile you choose, the materials it's made from, and how it's installed all matter more here than they would in a drier, more sheltered part of the state.
Where Board & Batten Fits Birch Bay Homes
A Look That Suits the Coastal Setting
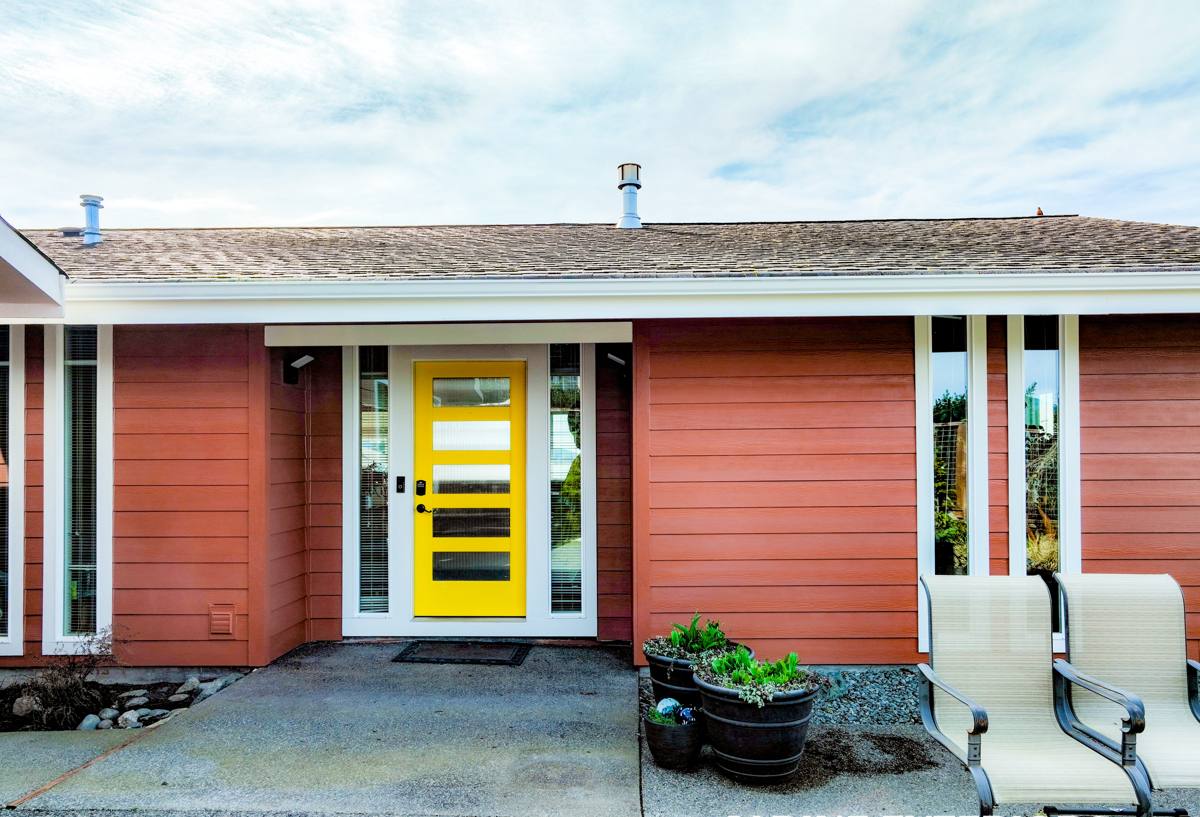
Board and batten's vertical lines and clean, wide-plank rhythm read as coastal, cottage, and modern-farmhouse all at once — styles that fit naturally with the beach-community character of Birch Bay. It works well as a full exterior treatment on newer builds and just as well as an accent on gables, entries, or a single elevation of an older home that's otherwise clad in lap siding.
Functional Advantages of the Vertical Profile
Beyond looks, the vertical profile has a practical edge in wind-driven rain: water tends to run down the face of the boards rather than pooling along a horizontal lap edge, which is one reason the style has stayed popular in exposed coastal settings for generations. That said, board and batten only performs as well as its installation. The visual simplicity of the profile hides a more technical assembly underneath — get the details wrong and it will trap moisture behind the boards instead of shedding it.
What a Correct Board & Batten Installation Actually Requires
A Drainage Plane Behind the Battens
Board and batten should never go directly against the weather-resistive barrier. A code-compliant, moisture-smart installation uses vertical furring strips (or a purpose-built rainscreen product) behind the boards to create a drainage gap. That gap lets any water that gets past the surface drain down and out at the bottom, and lets air circulate to dry the wall assembly. Skipping this step is the single most common shortcut we see on failed board and batten jobs, and it's especially risky in a location that sees as much sustained damp weather as Birch Bay does.
Fastening, Spacing, and Batten Layout
Fasteners need to land in solid framing or furring, at the spacing and edge distances the manufacturer specifies — not wherever is convenient. Board width and batten spacing should be planned out before the first piece goes up so the pattern lines up evenly around windows, doors, and corners instead of ending in an awkward sliver at the last wall.
Flashing Details at Windows, Corners, and Transitions
Every penetration and transition — window and door openings, outside and inside corners, the base of the wall, and any point where siding meets a roofline or deck — needs proper flashing and sealant detailing. In a salt-air, high-rainfall environment, these details are what actually keep water out of the wall long-term. The siding itself is really the second line of defense; the flashing and drainage plane behind it are the first.
Why We Install This in James Hardie Fiber Cement Only
We install James Hardie board and batten exclusively — not vinyl, not engineered wood, not primed spruce or cedar. That's a deliberate standard, not a limitation on style. Hardie's fiber cement is non-combustible, dimensionally stable in wet-dry cycling, and comes with a factory-applied ColorPlus finish engineered to hold up under UV and moisture exposure without the field-painting and recoating cycle that primed wood products need. Here's how that plays out specifically in a salt-air, moss-heavy climate like Birch Bay's:
| Factor | James Hardie Fiber Cement | Vinyl | Primed Wood / Engineered Wood |
|---|---|---|---|
| Moisture behavior | Dimensionally stable; resists swelling and rot when installed to spec | Doesn't rot, but can warp or buckle with heat and impact | Prone to swelling, delamination, and rot at cut edges and joints if moisture gets in |
| Salt air exposure | Fiber cement itself is inert to salt; fasteners/trim need corrosion-resistant hardware | Holds up to salt air but can chalk and fade faster | Wood substrates are more vulnerable to accelerated decay near salt spray |
| Finish maintenance | Factory ColorPlus finish; no field painting needed for years | Color is through-body but can fade; not paintable in the same way | Needs repainting/recoating on a recurring cycle, sooner in wet climates |
| Fire resistance | Non-combustible | Combustible | Combustible |
None of this means other products are junk — vinyl and engineered wood both have their place. It means that for the specific conditions Birch Bay throws at a house, we'd rather stand behind one system we know performs and can back with a strong transferable warranty than install several products with different long-term risk profiles.
Our Process for a Birch Bay Board & Batten Project
- On-site assessment. We look at existing siding condition, sheathing and framing underneath where accessible, wall orientation relative to prevailing wind and rain, and any moisture staining or moss buildup that points to existing drainage problems.
- Tear-off and substrate check. Removing the old siding lets us confirm the sheathing is sound before anything new goes on. Soft or water-damaged sheathing gets repaired or replaced, not covered over.
- Weather-resistive barrier and flashing. A new WRB is installed with properly lapped and taped seams, and flashing goes in at every window, door, and penetration before the drainage plane is added.
- Rainscreen / furring installation. Vertical strapping creates the drainage gap behind the boards, sized and fastened to manufacturer requirements.
- Board and batten installation. Hardie panels or boards go up with correct fastener type, spacing, and layout, followed by the battens at consistent, planned intervals.
- Trim, corners, and caulking. Finish details are sealed with exterior-grade sealant rated for the movement and exposure the assembly will see.
- Final walkthrough. We review the completed job with the homeowner, including a look at warranty coverage and any maintenance notes specific to the home's exposure.
What Affects the Cost of Board & Batten Siding in Birch Bay
Board and batten typically costs somewhat more per square foot than standard lap siding, mainly because of the added furring/rainscreen labor and the trim work at battens. A few factors move the number up or down on a given project:
| Cost Factor | Why It Matters |
|---|---|
| Wall exposure and elevation count | Full-house board and batten costs more than using it as an accent on one or two elevations |
| Existing wall condition | Sheathing repair or rot remediation found during tear-off adds to the scope |
| Number of windows, corners, and penetrations | More flashing and trim detail work per square foot |
| Batten spacing and board width chosen | Narrower spacing means more material and more fastening labor |
| Access and site conditions | Height, landscaping, and proximity to the shoreline can affect staging and logistics |
We give a firm, itemized quote after the on-site assessment — not a rough phone estimate — because the wall condition underneath the old siding is often the biggest variable.
Living With Board & Batten Siding Through Moss Season and Salt Air
A correctly installed Hardie board and batten system is low-maintenance, but "low-maintenance" isn't "no-maintenance," especially with Birch Bay's damp shoulder seasons. A little routine attention keeps the assembly performing the way it was designed to:
- Rinse siding periodically to clear salt residue and organic buildup, especially on walls facing the water or shaded from direct sun
- Keep gutters clear so overflow isn't running down wall surfaces during heavy rain
- Trim back vegetation and landscaping that keeps a wall damp and shaded longer than it needs to be
- Check caulking at trim joints and penetrations annually and re-seal if it's cracked or pulling away
- Watch for moss or algae starting on north-facing walls and address it early rather than letting it establish
- Inspect fastener heads and trim hardware periodically for early signs of corrosion
Why Local Experience in Birch Bay Matters When Hiring
A lot of what makes board and batten succeed or fail long-term isn't visible once the job is done — it's the drainage plane, the flashing sequence, and the fastener choices underneath. A crew that already works in Birch Bay and along the rest of the Whatcom County shoreline has already seen how those details hold up (or don't) in this exact climate, not a generalized version of it. That matters more here than in most inland markets, because the margin for error on moisture management is smaller when a wall is exposed to salt spray and driving rain for months at a stretch.
If you're weighing board and batten for a home in Birch Bay, we're glad to walk the property, look at what's there now, and give you a straight, no-pressure estimate on what it would take to do it right — just fill out the form below.