 Lynden Siding
 Window Installation in Laurel: A Local Job, Not a Catalog Job
Laurel sits close enough to Lynden that it shares the same weather pattern every homeowner in this part of Whatcom County already knows well: long stretches of driving rain, damp air off the Salish Sea that never fully dries out, and a moss season that seems to start earlier every year. Windows here don't fail because the glass wears out. They fail because water finds a way behind the frame, sits there, and slowly rots the wood or sheathing around it. A window installation done right in Laurel accounts for that from the first cut of the old unit to the last bead of sealant.
This page covers window installation specifically for Laurel — what the climate demands, what a correct job actually involves, how we approach the work, and why it matters to hire a crew that already knows this area rather than one working from a generic checklist.
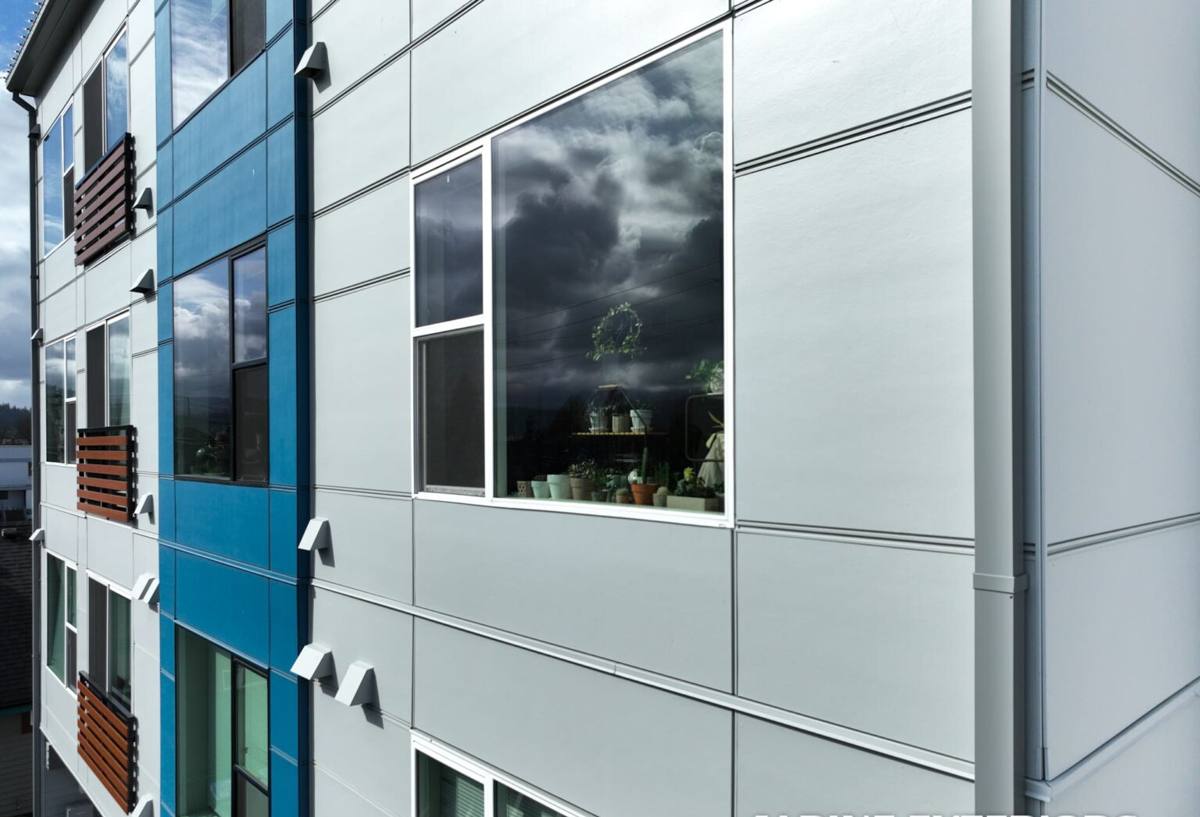
What This Climate Does to a Window Over Time
A window is a hole cut into your home's weather barrier. Every window installation is really a question of how well that hole gets sealed back up. In a dry climate, a mediocre seal might last for years without causing visible damage. In Laurel and the surrounding Lynden area, it won't.
- Wind-driven rain pushes water sideways and upward, not just straight down — a seal that would hold in calm weather can fail during a storm off the water.
- Persistent humidity keeps wood framing members damp longer after any water intrusion, giving rot a head start.
- Moss and algae hold moisture directly against siding and trim around window openings, which is why the areas right beside a window are often where we find the earliest rot.
- Freeze-thaw swings, while milder here than inland, still stress caulk joints and can widen small gaps into real leak paths over a few winters.
None of this means Laurel is a hard place to keep windows watertight. It means the installation details that get skipped in easier climates can't be skipped here.
What a Correct Window Installation Actually Involves
Swapping a window is not just measuring the opening and setting a new unit in place. The parts that actually keep water out are mostly invisible once the job is done.
Sill Pan Flashing
The bottom of a window opening is where standing water collects if anything leaks. A sloped, sealed sill pan gives that water a path back outside instead of into the wall framing below. This is one of the most commonly skipped steps in budget installations, and it's the one that causes the most damage over time.
Weather Barrier Integration
The house wrap or building paper around the opening has to be cut, folded, and taped in the correct sequence — flanges lapped so water sheds downward and outward at every layer, never trapped behind a seam. Get the order wrong and you've built a funnel instead of a barrier.
Fastening and Shimming
A window that isn't shimmed square and fastened per the manufacturer's pattern will rack over time, which stresses the seals at the corners first — usually the earliest place leaks show up.
Interior and Exterior Sealant
Sealant is the last line of defense, not the first. A job that relies mainly on caulk to keep water out, rather than proper flashing and shingling of materials, is a job that will need re-caulking every few years and will eventually leak anyway.
Signs a Laurel Home's Windows Need Attention
Homeowners often call about a drafty window when the real issue is worse than a draft.
- Soft or discolored trim or siding directly around the window frame
- Fogging or moisture between panes of double-glazed units, meaning the seal has failed
- Visible daylight or airflow around the frame when the window is closed and locked
- Difficulty opening, closing, or latching a window that used to operate smoothly
- Paint that bubbles or peels near the sill, often the first visible sign of trapped moisture
- A noticeable rise in heating costs without any other explanation
Any one of these is worth a look. Several together usually mean the original installation, not just the window unit, is the problem.
Material and Frame Options: Honest Trade-Offs
There's no single "best" window material — the right choice depends on budget, the home's style, and how much upkeep an owner wants to take on. Here's how the common options compare for a climate like ours.
| Frame Material | Moisture Resistance | Maintenance | Typical Lifespan |
|---|---|---|---|
| Vinyl | Very good — won't rot, low water absorption | Low — occasional cleaning | 20–30 years |
| Fiberglass | Excellent — dimensionally stable, resists warping | Low | 30–40 years |
| Wood (unclad) | Poor in wet climates unless meticulously maintained | High — repainting, sealing | Varies widely with upkeep |
| Wood-clad (aluminum or vinyl exterior) | Good — exterior face protected, wood interior warmth | Moderate | 25–35 years |
We tend to steer Laurel homeowners away from unclad wood exteriors unless they specifically want that look and understand the maintenance commitment. It's not that wood is a bad material — it's that in a climate with this much sustained moisture, an exterior wood surface needs consistent attention to hold up, and a missed maintenance cycle can cost more in repair than the material ever saved. Vinyl and fiberglass simply ask less of the homeowner over time.
Cost Factors Homeowners Should Know
Window installation pricing varies by opening size, frame material, whether it's a straightforward replacement or a full-frame install with new flashing, and how much trim or siding repair is needed around the opening. Rather than quote a number that won't fit every situation, here's what actually moves the price:
- Insert vs. full-frame replacement — a full-frame job costs more but is often the right call when there's any sign of water damage around the existing frame
- Number and size of openings — larger units and multi-window projects have different labor and material needs than single small replacements
- Frame material — vinyl is typically the most budget-friendly, fiberglass and wood-clad cost more upfront
- Hidden damage — rot discovered once the old window is out adds time and material, which is why we flag this as a possibility upfront rather than after the fact
- Trim and siding tie-in — matching existing trim profiles or siding around the new opening affects both cost and how seamless the finished look is
Our Process for a Laurel Window Installation
- On-site assessment. We look at the existing openings, check for signs of past water intrusion, and measure accurately rather than estimating.
- Product selection. We walk through material and style options based on the home's age, exposure to weather, and the owner's budget — no pressure toward the most expensive option.
- Removal and inspection. Once the old window comes out, we inspect the framing and sheathing underneath. If there's rot, we address it before anything new goes in — installing a new window over damaged framing just hides the problem.
- Flashing and weather barrier work. Sill pans, flange integration, and proper lapping sequence, done the same way regardless of whether it's a single window or a whole-house project.
- Installation and finishing. Square, shimmed, fastened to spec, sealed inside and out, with interior and exterior trim finished to match the home.
- Final walkthrough. We check operation, look, and seal quality with the homeowner before calling the job done.
What to Ask Any Contractor Before Hiring
Whether you call us or someone else, these questions separate a crew that does this correctly from one that's cutting corners:
- Do you install sill pan flashing on every window, or only when asked?
- What's your process if you find rotted framing once the old window is removed?
- Are your installers factory-trained or certified on the specific window brand?
- What warranty covers labor and installation, separate from the manufacturer's product warranty?
- Can you explain your weather barrier integration method in plain terms?
A contractor who can answer these clearly and specifically, without vague reassurance, is one who actually does the work this way as a matter of routine.
Why a Local Lynden-Area Crew Matters
Window installation isn't a one-size-fits-all trade. A crew that works Laurel and the greater Lynden area regularly has already seen how homes here age — which directions catch the worst wind-driven rain, how moss builds up around openings on shaded sides of a house, and which older homes in this area were built with details that need extra attention during a replacement. That familiarity shows up in fewer surprises during the job and a finished install that's built for the weather it will actually face, not generic weather.
It also means being reachable if a question comes up after the job is done — not chasing down a company that installed once and moved on to the next region.
If your Laurel-area home has windows showing any of the signs above, or you're simply ready to plan a replacement before the next wet season sets in, we're happy to take a look and put together a free, no-pressure estimate. Use the form below to get started.