 Lynden Siding
 Why Birch Bay Siding Wears Differently Than Inland Homes
Birch Bay sits right on the water, and that changes what siding has to survive day to day. Homes just a few miles inland in Lynden deal with rain and cold, but they don't deal with the constant low-grade salt exposure that comes off the bay. Salt-laden air accelerates corrosion on fasteners, trim, and any exposed metal flashing, and it also breaks down paint and caulk faster than a typical Whatcom County property sees. Add in driving rain that comes in sideways during winter storms, and siding here takes on water pressure that a lot of siding systems simply weren't detailed to handle.
Then there's moss. Birch Bay's tree cover, shade patterns, and long wet season give moss and algae months to get established on north-facing walls, under eaves, and anywhere air doesn't move freely. Moss holds moisture against the siding surface far longer than open rain exposure does, which is a slow but real threat to any material that isn't fully water-resistant at its core.
None of this means Birch Bay homes need exotic materials or unusual construction. It means the repair work has to actually account for these conditions instead of just patching what's visible and moving on.
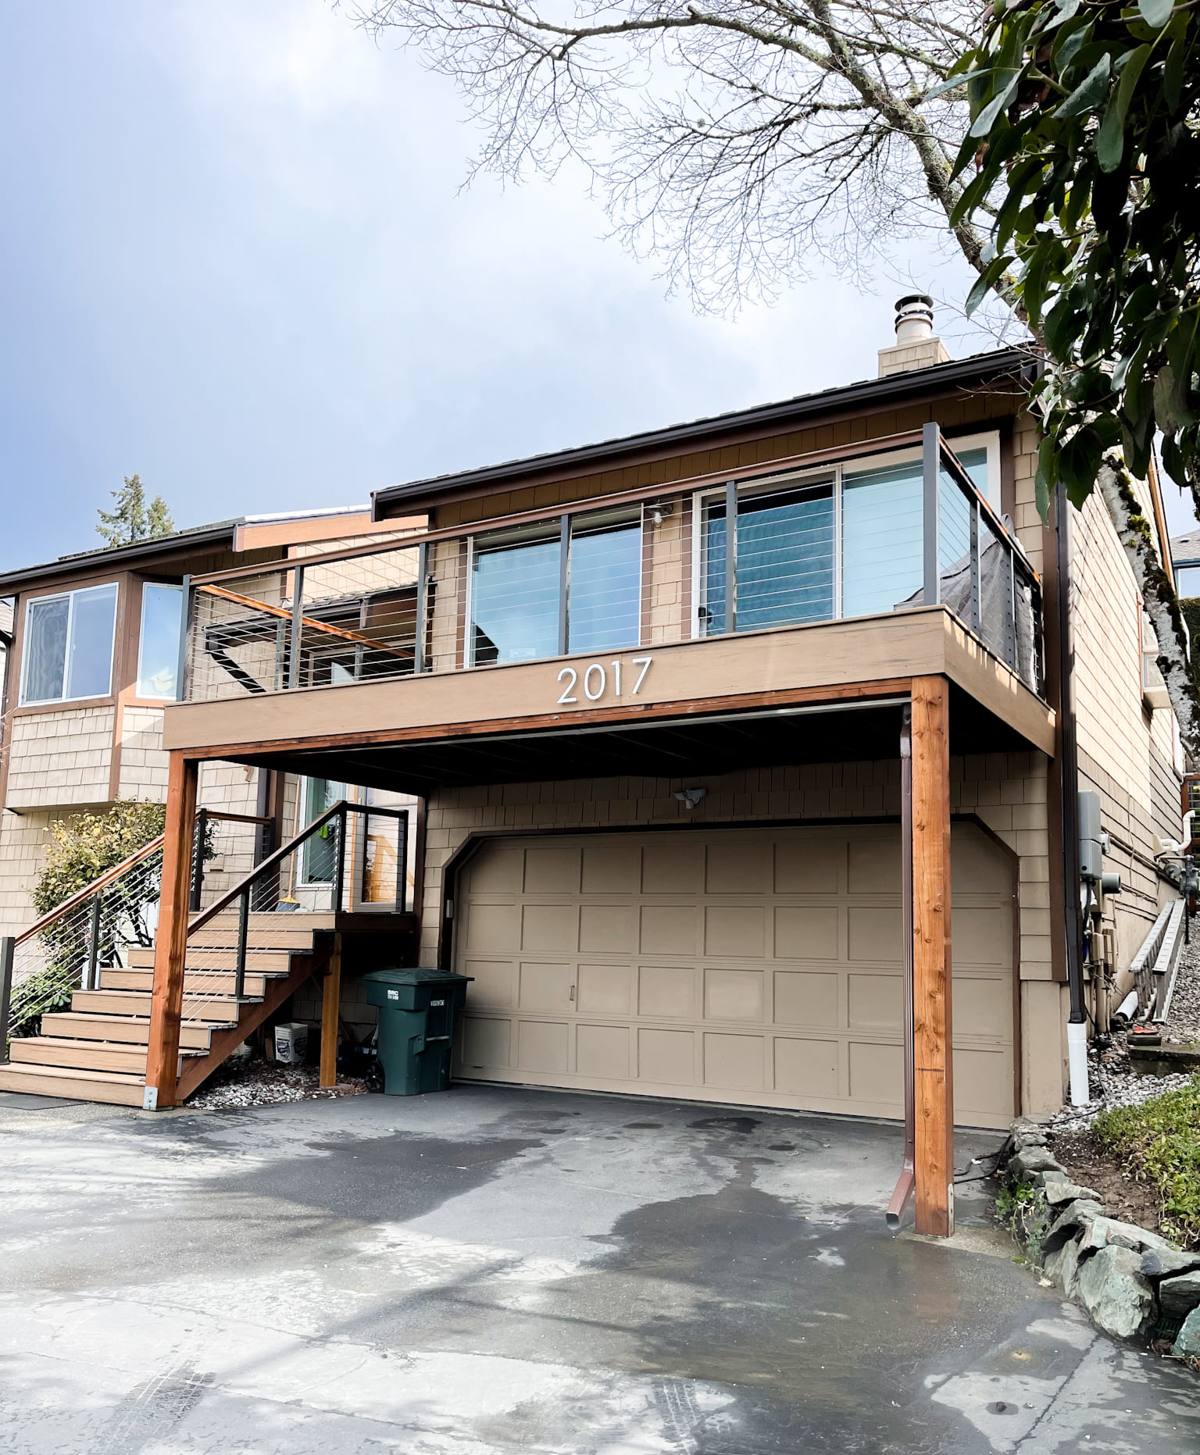
What Actually Fails on Birch Bay Siding
When we get called out to a Birch Bay home, the damage almost always traces back to one of a handful of root causes. Recognizing which one you're dealing with matters, because a cosmetic-looking problem can be hiding a moisture problem that will keep coming back if it's only patched on the surface.
Common failure points
- Corroded or failed fasteners — salt air speeds up rust on nails and screws, which loosens boards and lets water tracking in behind them.
- Cracked or open caulk joints — around trim, windows, and butt joints, where wind-driven rain finds its way in first.
- Moss and algae growth — cosmetic at first, but it traps moisture against the surface and can accelerate rot underneath over a season or two.
- Swelling, delamination, or soft spots — common on wood-based and engineered wood products once water gets past the surface coating.
- Warped or bowed panels — a sign of repeated wet-dry cycling, often worse on walls that face prevailing storms off the water.
- Flashing gaps at windows, doors, and roof lines — small installation errors that only show themselves after years of driving rain finds the weak point.
Repair vs. Replace: How We Make the Call
Not every damaged section needs a full re-side, and we won't push a bigger job than a home actually needs. But we also won't patch over a problem that's going to reappear in a year. The honest answer depends on how far the moisture has traveled and what the existing material is.
| Situation | Usually Repairable | Usually Needs Replacement |
|---|---|---|
| Isolated cracked or missing board | Yes — cut out and replace in kind | — |
| Failed caulk/flashing, no rot yet | Yes — reseal and correct detailing | — |
| Moss/algae staining only | Yes — clean and treat | — |
| Soft or delaminating panels in one area | Sometimes — depends on how far it spread | If moisture has reached the sheathing |
| Widespread swelling across multiple walls | — | Yes — patching won't hold |
| Original material is failing by design (older engineered wood, aging vinyl) | — | Yes — repair is a short-term fix on a long-term problem |
The distinction that matters most is whether the damage is confined to the siding surface or has already reached the wood framing and sheathing underneath. That's not always visible from the outside, which is why a proper repair estimate includes a real inspection, not a drive-by guess.
What a Correct Repair Actually Involves
A repair that's done right addresses the cause, not just the symptom. On a Birch Bay home, that usually means a few extra steps compared to an inland repair job.
Diagnosing before cutting anything
We check behind the damaged section for how far moisture has traveled, whether the sheathing is still sound, and whether the failure is isolated or a sign of a broader detailing problem — a missing kick-out flashing, a caulk joint that was never sealed correctly, or a fastening pattern that couldn't hold up to the salt exposure.
Matching materials the right way
If the existing siding is James Hardie fiber cement, repairs are straightforward — we cut in matching plank, match the ColorPlus finish where possible, and reseal to the same standard the product was engineered for. If the existing siding is a different material — vinyl, LP SmartSide, primed wood, or an older fiber cement — we'll be upfront that an exact cosmetic match may not be realistic, especially if the product has been discontinued or faded unevenly over the years. In those cases we'll talk through whether a targeted repair still makes sense or whether it's a better long-term move to replace the affected wall section (or the whole exterior) in Hardie, which is the only siding system we install.
Correcting the detailing, not just the board
Any repair we do includes fixing the underlying cause — re-flashing a window head, correcting a butt joint, adding proper clearance at grade, or re-fastening with corrosion-resistant hardware suited to a marine-influenced environment. Replacing a board without fixing why it failed just buys a few more years before the same spot fails again.
Why We Only Work in Fiber Cement
We don't install vinyl, LP SmartSide, Cemplank, Allura, primed spruce, or cedar, and that standard shapes how we approach repairs too. Salt air and a long moss season are hard on paint films, hard on wood-based products, and hard on anything that relies on a surface coating to keep water out. James Hardie fiber cement is non-combustible, holds its factory ColorPlus finish far longer than field-applied paint on wood-based siding, and is engineered specifically for wet climates through its HZ5 product line — which is what we spec for anything exposed to driving rain and coastal moisture like a Birch Bay property sees. When a repair job on a non-Hardie home gets big enough that full replacement is the smarter move, we'll say so plainly, and we'll explain why Hardie is what goes back up instead of a like-for-like swap.
Our Repair Process
Every repair follows the same sequence, whether it's one board or a full wall section.
- On-site inspection, including checking behind visible damage for hidden moisture or soft sheathing.
- Honest assessment of repair vs. replacement, explained in plain terms with what we found and why.
- Written estimate covering material, labor, and any flashing or detailing corrections needed.
- Removal of damaged material and inspection of the water-resistive barrier and sheathing underneath.
- Correction of the root cause — flashing, fastening, or sealant detailing — before new material goes up.
- Installation of matching or replacement fiber cement material, finished to blend with the surrounding wall where possible.
- Final walkthrough so you know exactly what was done and what to watch for going forward.
Before you call anyone, check these
- Are there dark streaks or green/black growth concentrated on north- or shade-facing walls?
- Do any boards feel soft, spongy, or visibly bowed when pressed gently?
- Is there visible gapping or cracking in caulk lines around windows, doors, or trim?
- Do you see rust staining running down from nail heads or metal flashing?
- Has paint or finish peeled or bubbled in patches rather than fading evenly?
- Is there a musty smell or any staining on interior walls that back up to the affected exterior wall?
Any of these on their own can be a minor fix. Several of them together, especially combined with interior staining, usually means the problem has been developing for a while.
Why Local Experience with Birch Bay Homes Matters
A crew that mostly works inland jobs can still do competent siding work, but they may not immediately clock why a Birch Bay wall is failing faster than the manufacturer's spec would predict. Fastener corrosion from salt air, the specific wind-driven rain exposure on water-facing walls, and moss patterns tied to Birch Bay's tree cover and shade are things you learn from doing repeated work in this specific area, not from a general siding background. We work throughout Whatcom County, including Birch Bay, and that repeated exposure to this coastal microclimate shapes how we diagnose and detail every repair — from fastener choice to where we add extra sealant that a standard installation guide wouldn't call out.
What Repairs Typically Involve, Cost-Wise
We don't publish fixed prices because every repair depends on how much material is affected and what's found once we open the wall up, but the factors that drive cost are consistent.
| Factor | Why It Matters |
|---|---|
| Extent of moisture intrusion | Surface-only damage costs far less to fix than repairs that require replacing sheathing or framing |
| Material match availability | Matching an existing Hardie color/profile is simpler than matching a discontinued or badly faded product |
| Accessibility | Second-story or hard-to-reach walls take more time and equipment |
| Root-cause corrections needed | Re-flashing or re-detailing adds labor but prevents the same failure from repeating |
| Scope — spot repair vs. wall section vs. full re-side | Determines whether this is a same-week fix or a larger project |
The only way to get an accurate number is a real inspection — we're not going to quote a repair off a photo when the real cost driver is usually what's behind the board, not the board itself.
If you're seeing moss, staining, soft spots, or open joints on a Birch Bay home, we're happy to come take a look. The estimate is free, there's no pressure to do more work than the house actually needs, and you'll get a straight answer about whether it's a repair or something bigger.