 Lynden Siding
 Siding Replacement for Laurel-Area Homes
Laurel sits in the farmland north of Bellingham, close enough to Lynden that most homeowners out here consider it their town too. It's a mix of older farmhouses, mid-century ranch homes, and newer construction spread across acreage, and a lot of that housing stock is now old enough that the original siding — whether it was cedar, an early-generation composite, or aging vinyl — is past the point where paint or patching solves anything. When siding starts failing out here, it's rarely one thing. It's usually years of moisture, wind-driven rain, and shade combining to break down a wall system faster than it would somewhere drier.
This page is specifically about full siding replacement for homes in and around Laurel. Not a repair, not a repaint — a full tear-off and reinstall done to hold up against what Whatcom County weather actually does to a house.
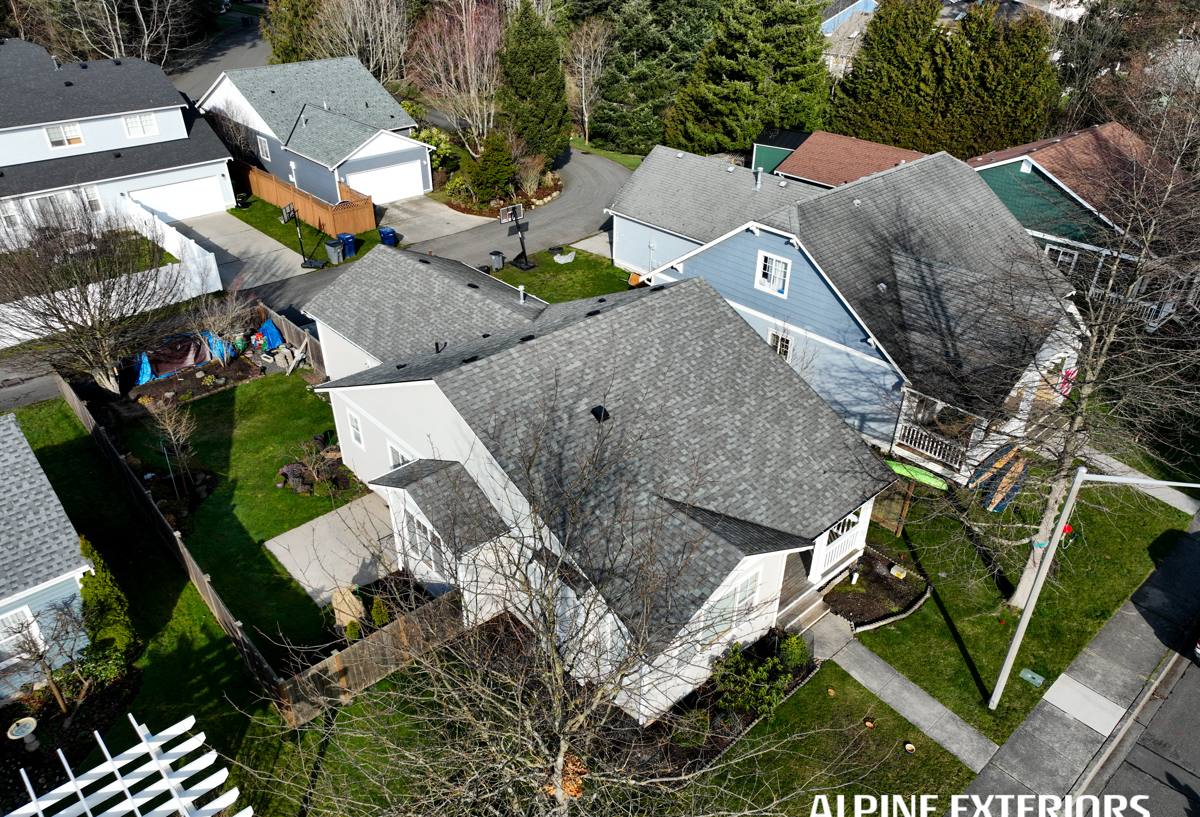
What Laurel's Climate Does to Siding
Whatcom County's coastal proximity means Laurel gets a steady diet of moist Pacific air even though it's inland from the water. Combine that with our long, gray winters and you get three conditions that are hard on siding year after year:
- Salt-tinged air: Proximity to Puget Sound and Bellingham Bay puts a low but constant level of salt exposure into the regional air, which accelerates corrosion on fasteners, flashing, and any metal trim that isn't properly protected.
- Driving rain: Storms here don't just fall straight down — wind pushes rain sideways into wall assemblies, which is exactly the condition that exposes weak seams, poor flashing, and gaps around windows and trim.
- A long moss and algae season: Shaded north-facing walls, tree cover, and extended damp stretches from fall through spring give moss, algae, and mildew months of favorable conditions to take hold on porous or textured siding surfaces.
None of these conditions are unusual for this part of Washington, but they add up. A siding product or installation that's marginal in a drier climate tends to fail noticeably faster in Laurel.
Signs a Laurel Home Needs Siding Replacement, Not Just Repair
Homeowners often call us thinking they need a patch job, and sometimes that's true. But certain signs point to a wall system that's beyond spot repair:
- Soft or spongy spots when you press on the siding, especially near the bottom courses or under windows
- Visible cupping, warping, or delamination across multiple boards, not just one or two
- Paint that won't hold — it peels or blisters again within a year or two of repainting
- Persistent moss or dark streaking that comes back within a season of cleaning
- Soft trim boards or rot at corners, especially around window and door casings
- Visible daylight, drafts, or moisture stains on interior walls that line up with exterior siding problems
If you're seeing two or more of these across the exterior, it's usually a sign that moisture has gotten behind the siding — not just on top of it — and that the underlying water-resistive barrier and flashing details need to be redone along with the siding itself.
Why Age Alone Isn't the Deciding Factor
We've seen 30-year-old siding in good shape and 10-year-old siding that's failing. What matters more than age is the product, the installation quality, and how much wind-driven rain and shade a particular wall has taken. A north-facing wall under fir trees will age very differently than a south-facing wall in full sun, even on the same house.
What a Correct Siding Replacement Involves
A siding replacement isn't just swapping old boards for new ones. Done correctly, it's a rebuild of the wall's moisture management system from the sheathing out. For a Laurel home, that means:
- Full tear-off: Removing the old siding down to the sheathing so we can actually see what's underneath — rot, insect damage, or failed building paper doesn't get discovered until this step.
- Sheathing repair: Any soft or damaged sheathing gets replaced before anything new goes over it. Covering rot with new siding just hides the problem.
- New water-resistive barrier: A correctly lapped and taped weather barrier is what actually keeps driving rain out of the wall cavity — the siding itself is the second line of defense, not the first.
- Proper flashing at every penetration: Windows, doors, hose bibs, vents, and electrical penetrations are the most common places wind-driven rain finds its way in. Each one needs correctly lapped flashing, not just caulk.
- Rainscreen or drainage gap where appropriate: Giving water a path to drain and the wall a way to dry matters more in a climate like ours than in drier parts of the state.
- Correct fastening and clearances: Manufacturer-specified nailing patterns and ground clearance keep siding performing as designed and keep the warranty valid.
Skip any of these steps and you can end up with siding that looks fine from the curb but is trapping moisture behind it — which is a worse long-term problem than the failing siding you started with.
Why We Install Only James Hardie Fiber Cement
We standardized on James Hardie fiber cement siding and don't install vinyl, LP SmartSide, or other composite or wood products. That's a deliberate call based on what actually holds up in Whatcom County conditions over decades, not just years.
Fiber cement doesn't feed mold or moss the way wood-based products can, it doesn't soften or swell when it takes on moisture at a cut edge or fastener hole, and it's non-combustible. Hardie's factory-applied ColorPlus finish is baked on under controlled conditions, which holds color and resists the peeling and fading that repainted or field-finished siding tends to show first in our climate. Hardie also builds region-specific HZ product lines engineered for exactly the moisture and temperature swings we get in the Pacific Northwest, and backs the product with a strong, transferable warranty — assuming it's installed to their specifications, which is why installation quality matters as much as the product choice itself.
We're not saying every other product is unusable everywhere. We're saying that for the driving rain, shade, and moss pressure that Laurel-area homes deal with, this is the product system we're willing to put our name behind.
Our Process, Start to Finish
| Step | What Happens |
|---|---|
| Estimate | On-site walkthrough of the exterior, checking for soft spots, trim condition, and problem areas before any pricing is given |
| Sheathing check | Tear-off begins with an inspection of the sheathing and framing underneath — this determines if any structural repair is needed |
| Weather barrier and flashing | New water-resistive barrier installed and taped, with flashing detailed at every window, door, and penetration |
| Hardie installation | Siding installed to James Hardie's fastening, clearance, and joint-treatment specifications |
| Trim and paint touch-up | Trim, corners, and any field-cut edges sealed and finished per manufacturer guidance |
| Final walkthrough | Walk the job with the homeowner before we consider it done |
Cost Factors for a Laurel Siding Replacement
We don't publish flat prices because every home is different, but these are the main variables that move the number up or down:
| Factor | Why It Matters |
|---|---|
| Amount of sheathing repair needed | Hidden rot found during tear-off adds material and labor that can't be quoted until the old siding is off |
| House size and wall complexity | More corners, gables, and trim detail mean more labor hours per square foot |
| Existing siding type | Multiple layers or difficult-to-remove products add tear-off time |
| Hardie product line and profile | Lap siding, shingle-style panels, and board-and-batten all price differently |
| Trim and accessory scope | Full trim replacement versus reusing sound existing trim changes both cost and long-term performance |
| Site access | Rural Laurel properties with long driveways, gates, or limited staging area can affect logistics and timeline |
Why a Crew That Already Works Laurel Matters
A lot of siding problems out here trace back to installation choices that made sense somewhere drier but don't hold up under sustained wind-driven rain and long damp stretches. A crew that's done this work in and around Lynden and Laurel knows to prioritize flashing detail at every window, knows which wall orientations need extra attention for moss and shade, and isn't guessing at how the local weather will treat a given product or detail over the next twenty years. That local track record is worth more than a lower bid from a crew unfamiliar with Whatcom County conditions.
Get a Straight Answer on Your Siding
If you're seeing soft spots, recurring moss, or paint that won't hold on your Laurel-area home, it's worth having someone look at it before you spend money on a repair that won't last. We'll walk the exterior with you, tell you honestly whether you're looking at a repair or a full replacement, and explain what's actually driving the wear on your specific walls. Reach out for a free, no-pressure estimate — we'll give you a straight answer either way.