 Lynden Siding
 New-Construction Windows Are a Different Job Than Replacement
"New-construction window" isn't a marketing term — it describes a specific window design and a specific installation method. These units have a nailing flange (also called a nail fin) built into the frame, and they get installed before the siding goes on, integrated directly into the wall's water-resistive barrier (WRB) and flashing system. That's different from a pocket replacement window, which gets inserted into an existing frame with the exterior trim and siding left mostly undisturbed.
For a new build, an addition, or a full siding tear-off job in the Acme area, new-construction windows are usually the right call because they let us build the water management layer correctly from the studs out, rather than working around what's already there. Get this stage wrong and the mistake gets buried behind siding for years before it shows up as rot, staining, or a soft spot in the wall.
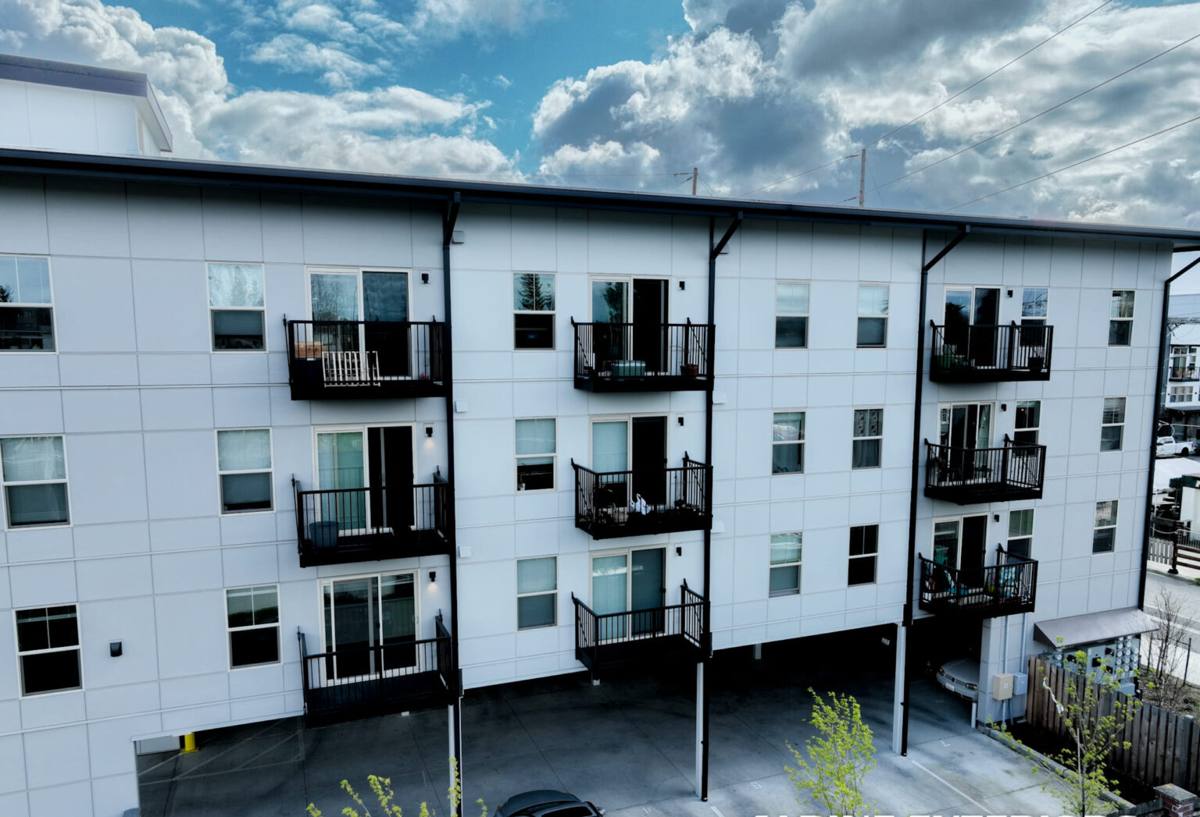
What This Corner of Whatcom County Does to a Window Install
Homes around Lynden and the surrounding Whatcom County communities, including Acme, deal with a long wet season, driving rain that comes in sideways during winter storms, and a moss and algae season that stretches for months on shaded or north-facing walls. Areas closer to the coast add salt-laden air into the mix, which accelerates corrosion on fasteners and hardware that aren't rated for it. Even away from the water, the constant damp keeps wood-framed openings wet longer after every storm, which is exactly the condition that turns a minor flashing gap into a real problem.
None of this is exotic — it's just Pacific Northwest weather doing what it does, month after month, year after year. But it means a window opening that's "close enough" in a drier climate will not hold up here. The flashing has to shed water down and out, every lap has to be in the right order, and every penetration through the WRB needs to be sealed with material rated for long-term UV and moisture exposure, not just whatever caulk was on the truck.
The Anatomy of a Correct New-Construction Window Install
Rough Opening Prep
Before a window ever goes near the wall, the rough opening gets checked for square, level, and correct size — undersized or racked openings are a common source of operational problems (windows that won't latch smoothly or seal tight) long after installation. The sill gets a sloped pan flashing so any water that does get past the window sheds back outside instead of pooling on the framing.
Flashing and WRB Integration
This is the step that actually determines whether the window stays dry for the next 20-plus years. Flashing tape and the housewrap or building paper have to be layered shingle-style — each piece lapping over the one below it — so water always drains down and over the layer beneath, never behind it. Sill flashing goes on first, then the window, then jamb flashing, then head flashing last, lapping over the top of the window flange. Skip that order or reverse it, and you've built a funnel instead of a barrier.
Fastening and Sealant
Manufacturer installation instructions specify fastener spacing and type for a reason — installing outside those specs can void the window's warranty even if the window itself is fine. Sealant goes at specific points, not smeared everywhere; over-sealing a nailing flange can trap moisture just as easily as under-sealing lets it in.
Siding Tie-In
The last step is where the window meets the finished exterior — trim, flashing, and siding all have to work together so water sheds past the window and off the wall, not into it. This is where hiring a crew that installs siding and windows as one job pays off, because the person setting the window already knows how the trim and siding details will finish around it.
Choosing the Right Window for an Acme-Area New Build
| Frame Material | How It Handles This Climate | Maintenance |
|---|---|---|
| Vinyl | Good moisture resistance, no rot risk, performs well in wet climates | Low — occasional cleaning |
| Fiberglass | Excellent dimensional stability in temperature and moisture swings | Low |
| Wood-clad | Attractive interior wood look, but the exterior cladding and every seal are what stand between the wood and constant rain | Higher — seals and cladding joints need periodic inspection |
| Aluminum | Durable but conducts cold and can condense in our damp winters without a thermal break | Moderate |
There's no single "best" window for every build — it depends on budget, the look you're going for, and how much long-term maintenance you want to take on. We'll walk through the honest trade-offs for your specific project rather than pushing whatever has the best margin.
New-Construction vs. Pocket Replacement: Which Applies to Your Project
| Factor | New-Construction Window | Pocket Replacement |
|---|---|---|
| Best used for | New builds, additions, full siding tear-offs | Existing homes keeping current siding/trim |
| Wall disturbance | Full opening exposed, siding removed around it | Minimal — fits inside existing frame |
| Flashing/WRB access | Full access to rebuild flashing correctly | Limited — relies on existing flashing condition |
| Glass area | Full original opening size | Slightly smaller due to new frame inside old one |
If you're planning a siding replacement project, it's worth asking whether it makes sense to switch to new-construction windows at the same time — with the wall already open, it's the one chance to correct any flashing issues rather than working around them again for another 20 years.
Our Process, From Estimate to Final Trim
- On-site walkthrough — we look at the rough openings, existing wall assembly (if any), and talk through window options and budget.
- Written estimate — clear scope, window selection, and pricing before any work starts.
- Ordering and lead time — window manufacturers typically need several weeks to build to order; we'll give you a realistic timeline up front.
- Opening prep and flashing — sill pan, shingle-lap flashing, and WRB integration done to manufacturer spec.
- Window set and fastening — leveled, squared, and fastened per manufacturer instructions to keep the warranty intact.
- Trim and siding tie-in — exterior finish work completed as part of the same job, not handed off to a separate crew guessing at our details.
- Final walkthrough — operation check on every window, and a look at the finished exterior detailing with you.
What Affects the Cost
Every project is different, but the same handful of factors drive most of the price variation we see on new-construction window jobs:
- Number and size of window openings
- Frame material (vinyl, fiberglass, wood-clad, aluminum)
- Glass package — standard dual-pane vs. upgraded low-E or triple-pane glazing
- Wall complexity — story height, scaffolding needs, and access
- Whether siding is being replaced at the same time (often more cost-efficient than two separate projects)
- Trim and exterior finish detail level
Broadly, homeowners in this area should expect new-construction window costs to range from a modest per-window figure for standard vinyl units up into a higher range for larger openings or premium frame materials — we'll give you exact numbers for your project after the walkthrough, not a generic online estimate.
Why a Crew That Already Works This Area Matters
Acme sits in a part of Whatcom County where every builder and remodeler runs into the same conditions — long wet stretches, moss creeping across shaded roof and wall lines, and framing that needs to dry out fast after a storm rather than sitting damp. A crew that installs windows and siding together across this region isn't learning those lessons on your house; we're applying what already works here.
That also means fewer handoff gaps. When one crew sets the windows and a different crew — sometimes weeks later — installs the siding around them, small mismatches in flashing details can fall through the cracks. Keeping window and siding work under one roof removes that gap entirely.
A Homeowner's Checklist Before Install Day
- Confirm your window order matches the final sizes and options in your written estimate
- Ask what flashing and sealant products will be used, and confirm they carry a long-term warranty
- Clear interior access to each window opening — furniture, blinds, and window treatments
- If siding is being removed around the openings, plan for exterior noise and some dust during the work
- Ask how many days the crew expects the openings to be open before windows are set, especially if rain is in the forecast
- Get a clear answer on how the workmanship warranty works alongside the window manufacturer's warranty
If you're planning new construction, an addition, or a siding project in the Acme area and want windows installed the right way the first time, we're happy to walk the site with you and put together a straightforward, no-pressure estimate — just fill out the form below.