 Lynden Siding
 New-Construction Windows for Wiser Lake Homes
Wiser Lake sits in a part of Whatcom County where new homes and additions go up on lots with real weather exposure — open fields, lake-effect moisture, and wind that comes off the water and across the flats with nothing to slow it down. When a home is being framed, or a room addition is going up, the windows going into those rough openings need to be installed as new-construction units with a nailing flange, not retrofit into an existing wall. That distinction matters more here than in a lot of places, because the installation method is what decides whether water finds its way into the wall assembly ten years from now or never does.
New-construction windows are built with a flange around the perimeter of the frame that gets fastened directly to the sheathing before the water-resistive barrier and siding go on. Done right, that flange becomes part of a layered drainage plane — sill pan, flashing tape, WRB laps — that sheds water down and out no matter how hard the rain is coming in sideways. Done wrong, it's one of the most common sources of hidden rot we find when we open up walls on homes that are only ten or fifteen years old.
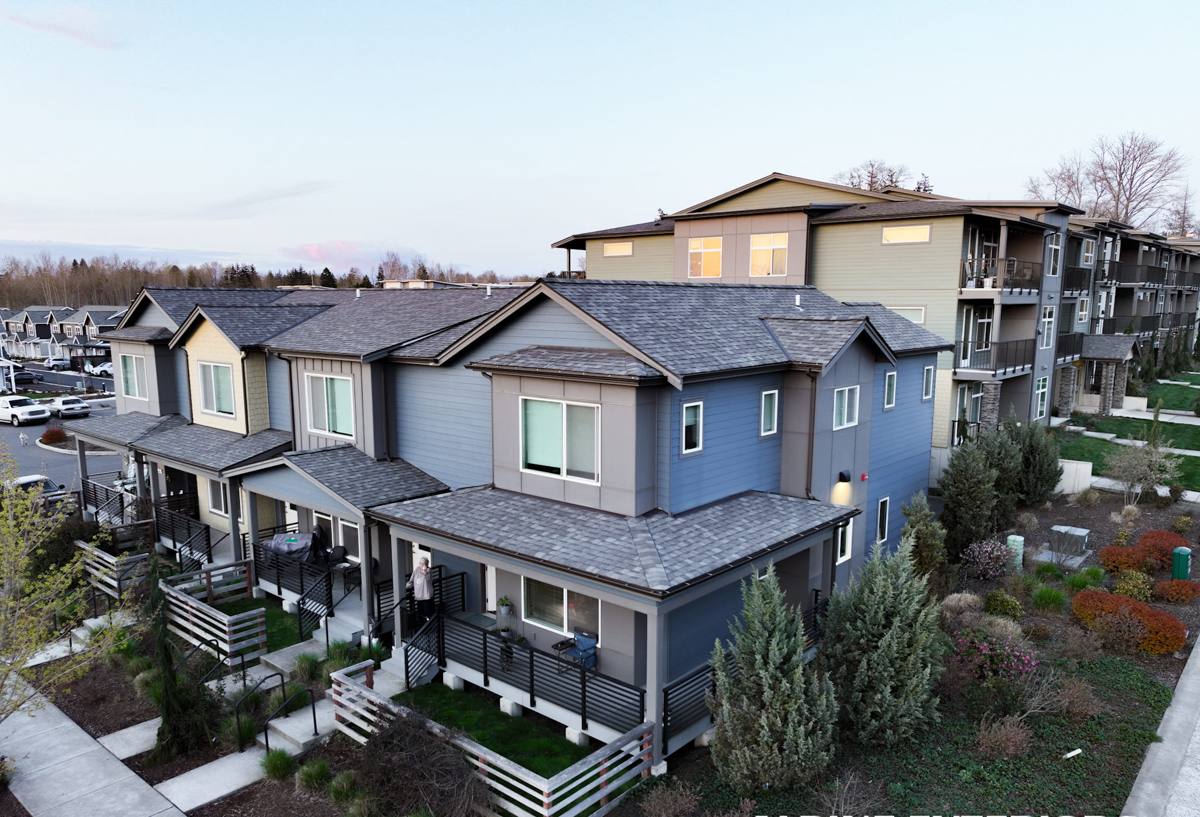
Why Whatcom County's Climate Changes How These Windows Get Installed
Lynden and the Wiser Lake area get a specific combination of weather that a lot of window installers treat too casually: long stretches of driving rain, salt-tinged marine air moving in off the Strait, and a moss season that runs most of the fall through spring. None of that is exotic for western Washington, but it adds up on a new build where the window openings are exposed to the elements for weeks before siding closes them in.
- Driving rain pushed by wind means water is hitting the window opening at an angle, not just falling straight down — so flashing has to handle wind-driven intrusion, not just gravity drainage.
- Salt-influenced air accelerates corrosion on unprotected fasteners and lower-grade flashing metals over time, which is why we're particular about what goes behind the trim, not just what's visible.
- Moss and constant dampness on north- and west-facing walls keep sheathing wetter longer after a storm, so any gap in the drainage plane around a window stays wet instead of drying out between rain events.
None of this means Wiser Lake needs exotic materials. It means the basics — sill pans, properly lapped flashing, correct fastener spacing, sealed flange corners — have to be done every time, with no shortcuts, because the climate won't forgive the ones that get skipped.
What a Correct New-Construction Window Install Actually Involves
A new-construction window install happens in a specific sequence, and the order matters as much as the materials. Skipping a step or doing them out of order is how water gets trapped behind the window instead of draining past it.
The sequence we follow
- Confirm the rough opening is square, level, and sized correctly for the window unit — a tight or racked opening stresses the frame and can keep the window from operating or sealing properly for its whole life.
- Install a sloped sill pan at the bottom of the opening so any water that gets past the window has a path to drain back outside rather than sitting on the sill.
- Set the window, fasten the nailing flange to the sheathing per the manufacturer's pattern, and check it's square and operating smoothly before moving on.
- Flash the sides and top in the correct shingle-lap order — sides first, then top — so water draining down the wall always flows over the flashing below it, never behind it.
- Integrate the flashing with the water-resistive barrier, lapping the WRB over the top flashing and taping all seams.
- Seal the interior and exterior per the window manufacturer's instructions, leaving the bottom weep path clear rather than fully caulking it shut — a sealed sill trap is one of the most common install errors we correct.
That last point trips up a lot of installs. It feels intuitive to caulk the entire perimeter for a "tight seal," but a fully sealed sill has nowhere for incidental water to go — it just sits and soaks into the framing.
New-Construction Windows vs. Replacement Windows
Homeowners planning an addition or a full rebuild in Wiser Lake sometimes ask why we don't just use replacement-style windows since they're simpler to source. The two products solve different problems, and using the wrong one costs more in the long run.
| Factor | New-Construction Windows | Replacement (Insert) Windows |
|---|---|---|
| Installation method | Flange fastens to sheathing, integrates with WRB and siding | Frame slides into existing window opening, no flange |
| Best used for | New builds, additions, full wall-to-stud renovations | Swapping windows in a wall that stays closed up |
| Weatherproofing control | Full control over flashing and drainage plane | Relies on the condition of the existing opening and old flashing |
| Long-term performance in driving rain | Strongest, when flashed correctly | Good, but only as good as what's already behind the wall |
| Typical project type | Framing stage, before siding goes on | Finished home, siding already in place |
If your Wiser Lake project involves new framing — an addition, a garage conversion, a full siding tear-off down to the studs — new-construction windows are the right call almost every time. It's the only method that lets us build the drainage plane correctly from the studs out, instead of working around whatever's already there.
Frame material and cost factors
| Frame Type | Typical Cost Range | Notes for This Climate |
|---|---|---|
| Vinyl | Lower to mid-range | Good moisture resistance, budget-friendly, wide color range now available |
| Fiberglass | Mid to upper-mid | Very stable in temperature swings, holds paint well, strong long-term value |
| Wood-clad | Upper range | Attractive interior wood look, but cladding seams need careful sealing against constant damp |
| Aluminum | Varies | Less common here due to conductivity and condensation in our wet, cool winters |
Exact pricing depends on window size, glazing package, and how many openings the project involves — we'll walk through real numbers for your project during an estimate rather than quoting off a general chart.
Our Process on a Wiser Lake New-Construction Job
We treat every new-construction window job the same way regardless of house size, because the sequence is what protects the wall, not the scale of the project.
- Walk the framed openings before any windows arrive to confirm sizing, squareness, and that the sheathing and WRB are ready to receive flashing.
- Install sill pans and flashing in the correct order on every opening — no batching shortcuts, no skipping units that "look fine."
- Set and fasten each window per manufacturer spec, checking operation before final flashing goes over the flange.
- Photograph flashing details before siding covers them, so there's a record of what's behind the wall if it's ever needed later.
- Final walkthrough on every unit — operation, seal, trim — before we call the job done.
We coordinate directly with framers, siding crews, and general contractors on new builds so the window install lines up with the rest of the schedule instead of holding up siding or trim work.
Common Mistakes We Find and Fix
Most window failures we get called out to look at in Whatcom County trace back to a handful of repeatable errors — not bad windows, bad installs.
- No sill pan, or a flat sill pan with nowhere for water to drain
- Flashing installed out of shingle-lap order, so water runs behind it instead of over it
- WRB not lapped over the top flashing, leaving a reverse lap that funnels water inward
- Fully caulked sill with the weep path sealed shut
- Nailing flange fastened with the wrong fastener spacing, leaving gaps that flex in wind
- Corners of the flashing not sealed, which is where the majority of leaks actually start
Every one of these is preventable at the time of install and expensive to fix later, once siding, trim, and interior finishes are covering the evidence.
Why Working With a Crew That Already Knows Wiser Lake Matters
A window installer who mostly works drier inland climates can do a technically competent install and still miss the details that matter here — the extra attention to wind-driven rain angles, the corrosion-resistant fasteners, the flashing laps built for a place where a wall can stay damp for days after a storm. We work Lynden and the surrounding Whatcom County communities regularly, so the sequence described above isn't a checklist we're following for the first time — it's how every job goes, adjusted for what this specific site and orientation need.
Knowing the area also means knowing which orientations on a Wiser Lake lot take the worst of the weather — which walls face the prevailing wind and rain, which stay shaded and damp longer, and where moss and algae growth tend to start first. That shapes small decisions on-site, like where we add extra flashing attention or which openings we prioritize finishing before weather rolls in.
What to Expect After Installation
A correctly installed new-construction window shouldn't need much from you. Keep an eye on caulk lines at the trim over the years, since exterior sealant is a maintenance item that eventually needs refreshing regardless of how well the window was installed. If you ever notice staining, soft trim, or a window that's become hard to operate, those are worth a look sooner rather than later — caught early, they're usually a simple fix, not a wall repair.
If you're planning new construction, an addition, or a full siding replacement in the Wiser Lake area and want windows installed the way they're supposed to be, we're happy to walk the site, look at your plans, and put together a straightforward, no-pressure estimate — just fill out the form below.